Grouting a tile floor is a key step that affects both the appearance and durability of your flooring. When done properly, grout locks tiles in place, blocks moisture, and gives the surface a clean, finished look.
Whether you’re a DIY user or handling a large project, understanding the right method will save time and prevent costly mistakes.
What Type of Grout Is Best for Tile Floors?
For floor tiles, durability is essential.
· Sanded grout is ideal for wider joints and resists cracking under pressure
· Unsanded grout works better for narrow joints or delicate surfaces
· High-performance grout offers better resistance to stains and moisture, making it suitable for kitchens, bathrooms, and high-traffic areas
Choosing high-quality grout is important, especially for larger or commercial projects where consistency and long-term performance matter. OYH offers a full range of grout options to meet different tile spacing and performance needs.
How to Choose Grout Color for Floor Tiles?
Grout color affects both the appearance and maintenance of your floor. Dark grout is more practical because it hides dirt and stains better, making it ideal for high-traffic areas. Light grout creates a clean and bright look but requires more frequent cleaning. If you want a seamless and modern style, choose a grout color close to your tile, while contrasting colors can highlight the tile pattern and layout. It is recommended to test the color on a small area first to see how it looks under different lighting conditions.
What Tools and Materials Do You Need?
Before starting, prepare the essentials:
· Grout suitable for your tile spacing
· Rubber grout float
· Mixing bucket and clean water
· Sponge for cleaning
· Optional: grout sealer for extra protection
Using reliable materials ensures better application results and reduces the risk of cracking or discoloration over time.
How to Grout Tile Floor Step by Step
1. Clean and Prepare the Floor
Make sure all joints are clean, dry, and free of dust or debris.
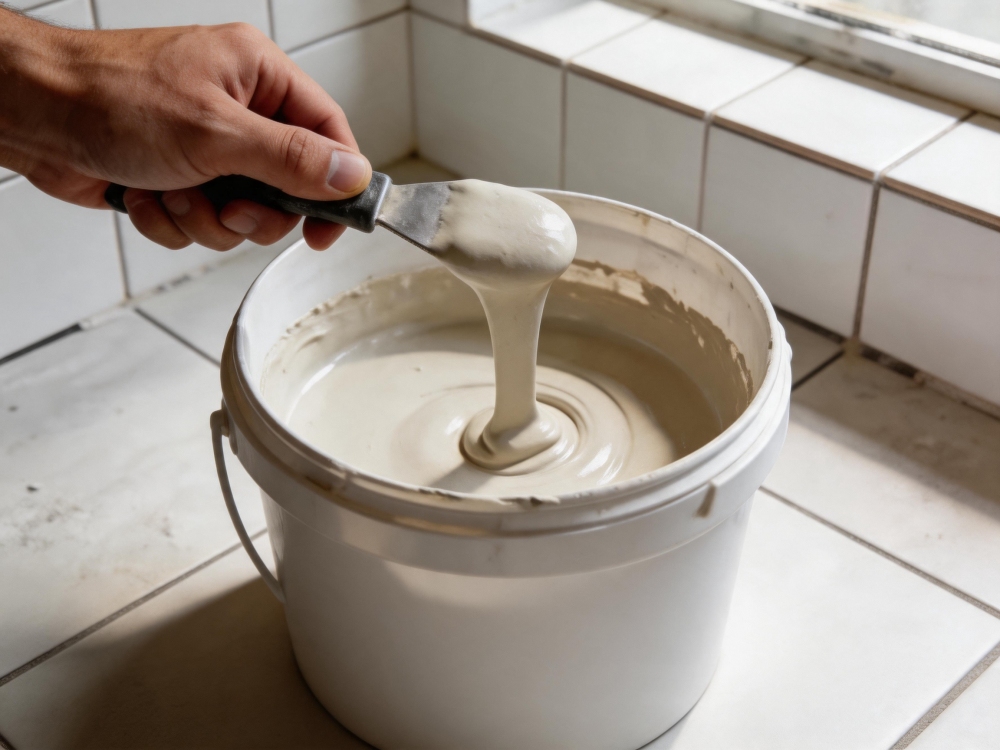
2. Mix the Grout
Add water gradually and mix until you achieve a thick, smooth consistency. Avoid making it too watery, as this can weaken the grout.
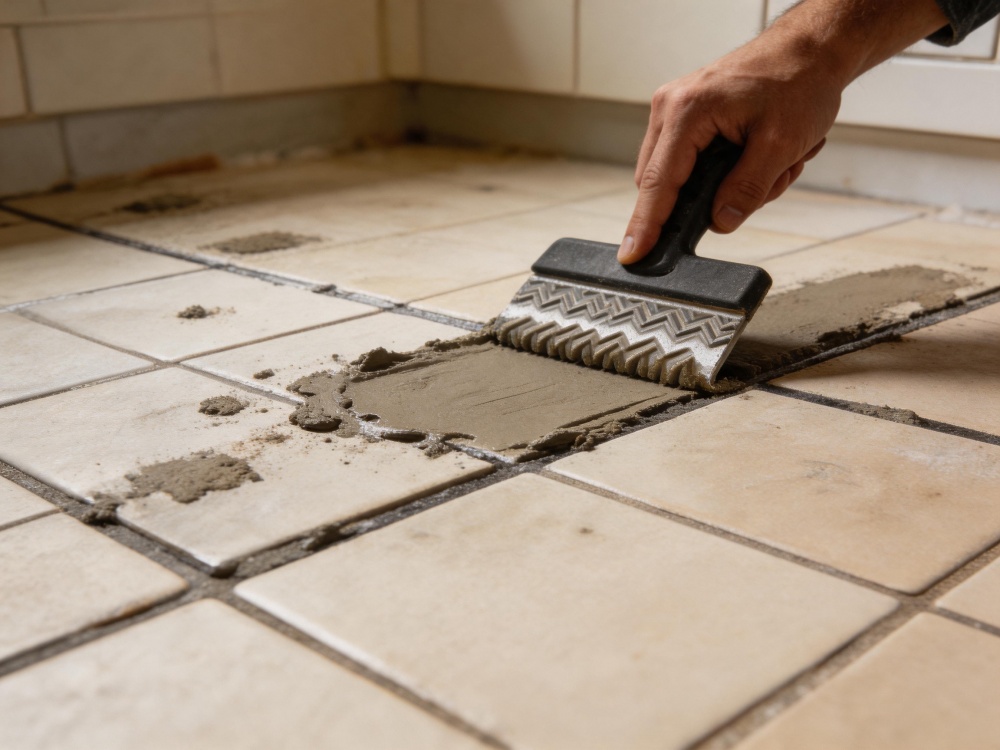
3. Apply the Grout
Use a rubber float to spread the grout and press it firmly into the joints. Ensure all gaps are fully filled.
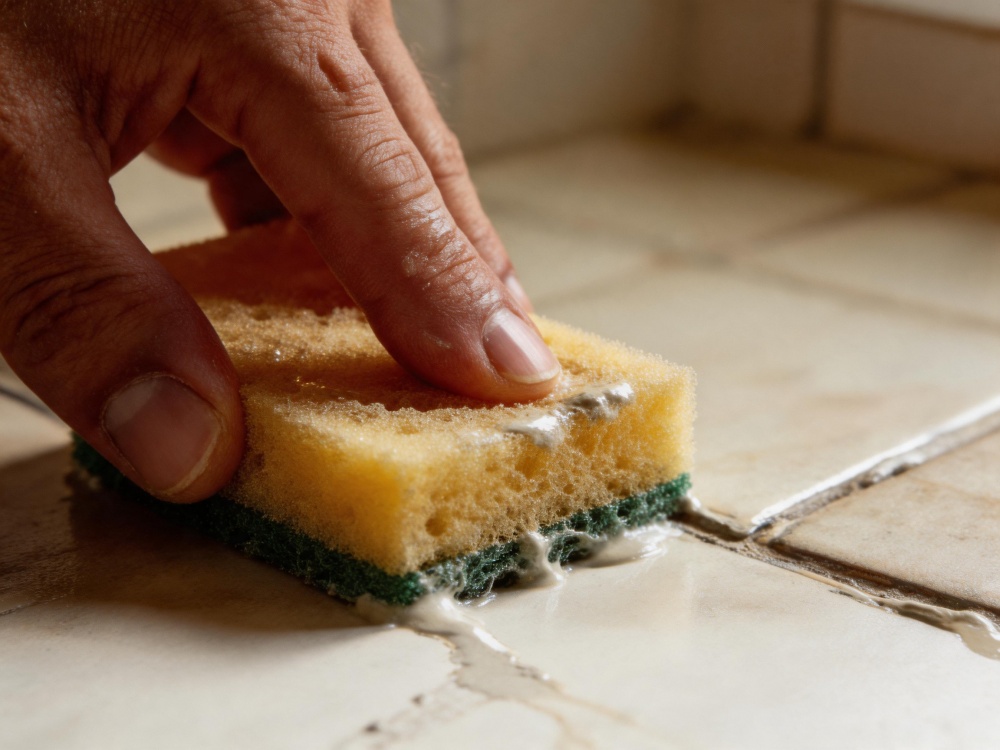
4. Remove Excess Grout
After 15–30 minutes, wipe the tile surface with a damp sponge. Rinse the sponge frequently to keep the surface clean.
5. Let It Cure
Allow the grout to dry completely before walking on the floor. Proper curing is essential for strength and durability. For better protection, especially in high-use areas, applying a sealer after curing can help prevent stains and moisture penetration. Using professional-grade products from OYH can further improve durability and long-term results.
Common Problems When Grouting Tile Floors
Floor grout is exposed to frequent use, so mistakes can lead to faster wear and damage:
· Weak grout caused by too much water
· Uneven joints due to rushed application
· Residue left on tiles from poor cleaning
· Cracking from early foot traffic
· Color inconsistency from improper mixing
Careful application, proper material selection, and enough curing time will help ensure a clean, durable finish that lasts for years.

0 Comments